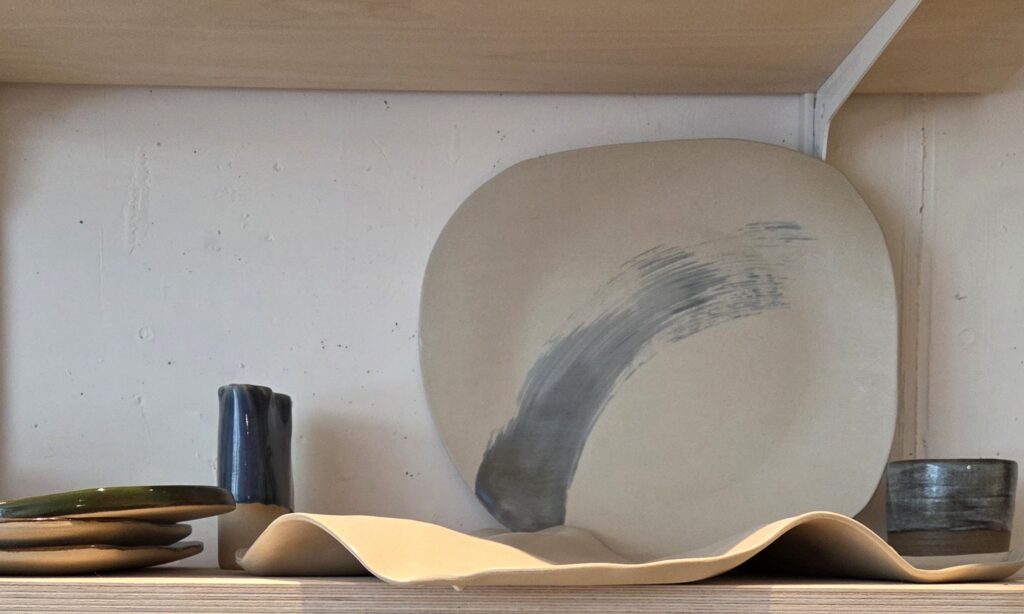
Want to make your own plate but don't know where to start? In this article, we'll show you four tried-and-tested methods for creating the perfect plate – from simple hand-building to the classic potter's wheel. Whether you're a complete beginner or an experienced ceramicist, you'll find the right technique for your next project here.
Handmade ceramic plates (hand-built)
Skill level: Beginners to advanced
What you need:
- clay
- Rolling pin and wooden strips or plate roller
- Sponges or small lumps of clay for support
- Silicone kidney (optional)
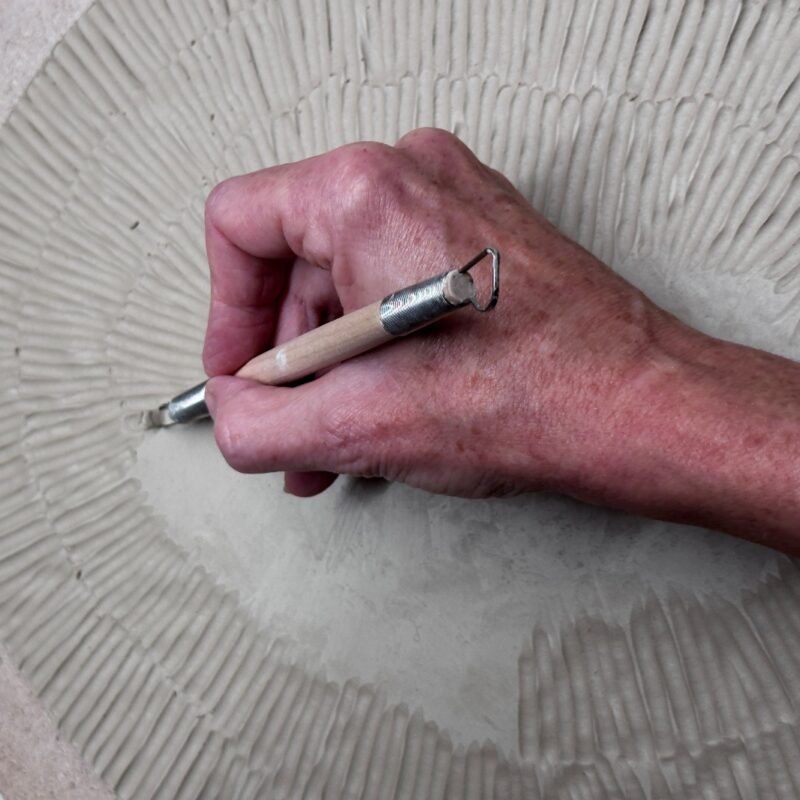
- Tools for textures or carvings (optional)
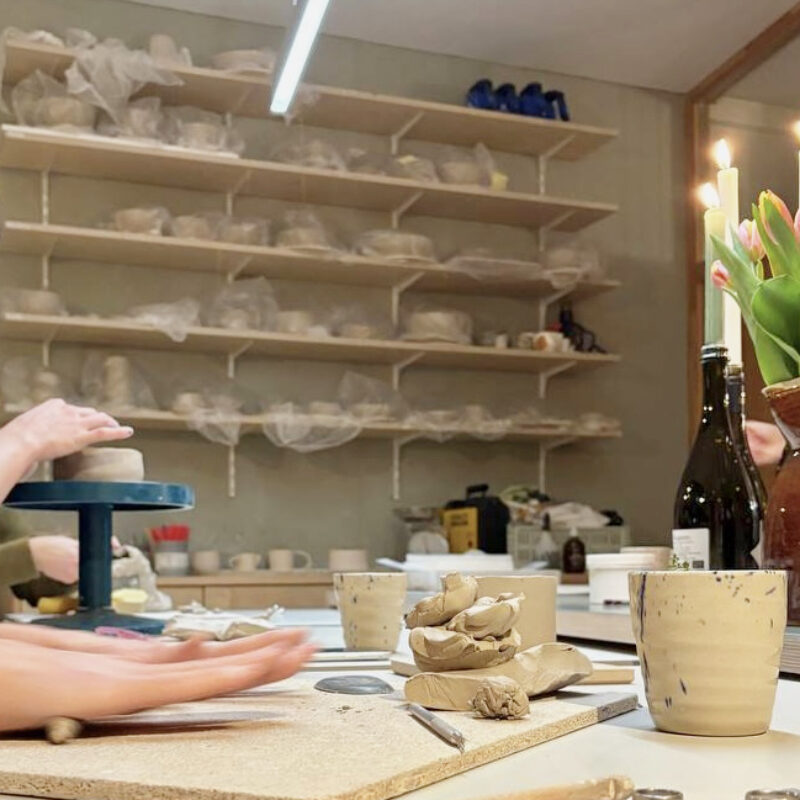
This method is ideal for beginners in hand-building ceramics and is the most beginner-friendly. It offers you the greatest freedom and creativity, as – unlike the other three methods – there are hardly any technical limitations. Whether you prefer decorative work – our Carving Plates This course is ideal for beginners – or for those who want to get a relaxed taste of the technology. Cozy Pottery Night Both are welcome.
Step-by-step instructions:
- Prepare your clay and roll it out evenly using a rolling pin or our plate roller.
- Cut out your desired plate shape (it can be organic!).
- Smooth the surface with the silicone kidney to compact the clay.
- Gently lift the edges upwards.
- Use sponges or small lumps of clay to support the edges from below so that they dry in the desired shape.
Additional tips:
- Experiment with lace fabrics or stamps to press textures into the soft slab before pulling up the edges.
- To prevent the plate from warping while drying: Place a bag filled with rice flat across the entire surface of the plate. The rice bag ensures even pressure and prevents warping – this tip applies to all four methods!
Pottery plates using a mold
Skill level: Beginners to advanced
What you need:
- clay
- Record roller (we have 2 in the studio!)
- Plaster or wooden molds (plate molds)
- silicone kidney
- Cutting tool
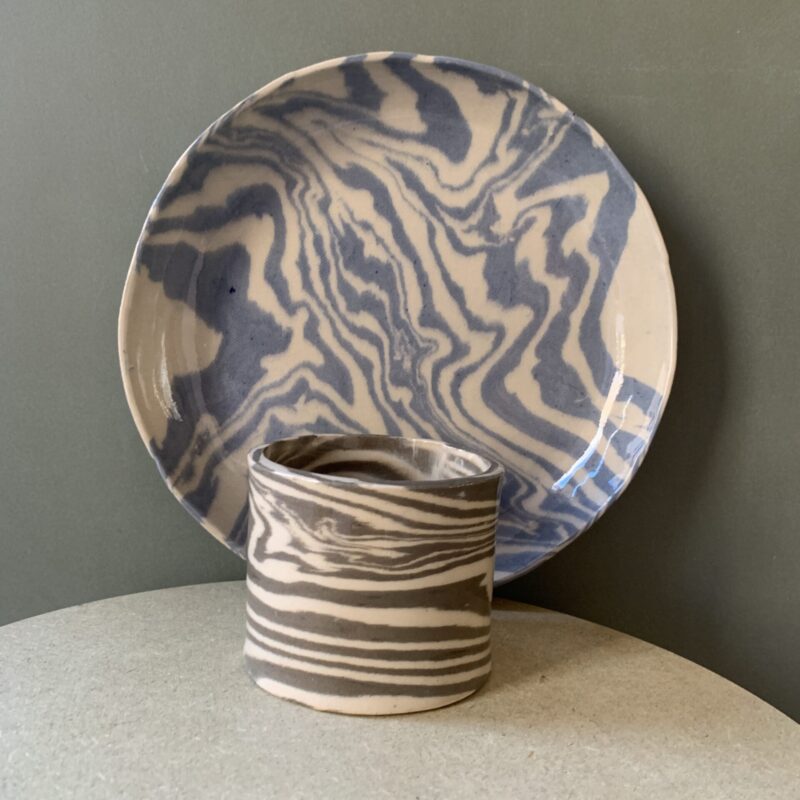
This draping technique with clay is perfect if you love uniformity and want to create a set of identical plates. By shaping the plates – whether with a plaster mold, ceramic plate, or wooden mold – you achieve a precise curvature that is difficult to achieve manually. Ideal if you want to create plates from clay slabs without much prior experience. In our Cozy Pottery Night You can try out the draping technique in a relaxed atmosphere, or discover the possibilities of sculpting in our Nerikomi course.
Step-by-step instructions:
- Use the plate roller to roll out a perfectly flat clay slab.
- Smooth the plate with the silicone kidney to close any pores.
- Carefully place the clay slab over the chosen shape.
- Gently press the clay into the shape without changing its thickness. This works best with the kidney shape.
- Trim off the excess edge neatly and blend it with a damp sponge or kidney for a clean finish.
Additional tips:
- Very important: Keep a close eye on the plate while it dries! Because the clay shrinks as it dries, but the mold doesn't give, cracks can form. Remove the plate from the mold in good time, before it becomes completely leather-hard, so that it can move freely.
The hybrid technique (handmade ceramic plates using the potter's wheel)
Skill level: Advanced
What you need:
- clay
- Slab roller
- pottery wheel
- silicone kidney
- Bat (wooden disc for the potter's wheel)
This technique elegantly combines slab pottery and wheel throwing, making it particularly suitable for those with some studio experience who want to experiment independently. It unites the precision of slab pottery with the finish of the wheel – ideal for modern, flat plates without a foot. If you've already mastered beginner-level wheel-free pottery and are ready to take the next step, this hybrid technique is perfect for you.
Step-by-step instructions:
- Rolling out clay slabs: Roll out an evenly thick clay slab using the slab roller.
- Thoroughly compact the surface with the silicone kidney.
- Place the plate in the center of the wheel.
- Start the disc and use the needle to cut out a nice round clay disc.
- Carefully lift the edge with wet fingers.
- Refine the surface as the disc rotates for a hand-turned look.
Additional tips:
- Since these plates usually don't have a base, pay particular attention to ensuring that the bottom is the same thickness everywhere.
- The drying process should be closely monitored. A pro tip: Fill a plastic bag with rice and place it on the plate as a weight. Make sure the bag evenly covers the entire flat surface so it doesn't warp during drying.
Pottery plates made on the potter's wheel
Skill level: Beginners to advanced (the ultimate challenge)
What you need:
- Clay (weighed according to plate size – see table below)
- pottery wheel
- Rolling pin (for beginners)
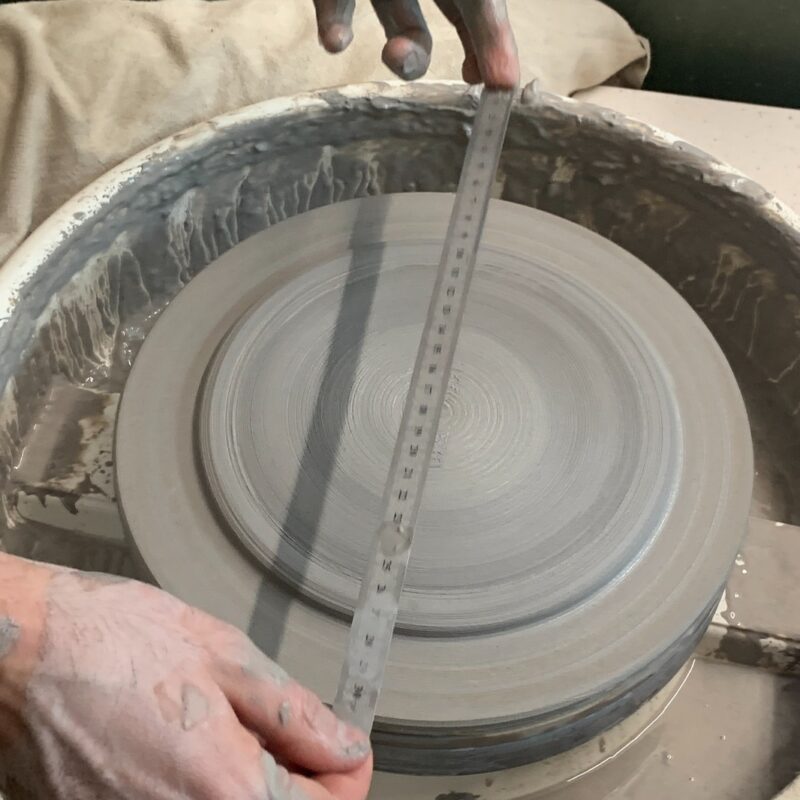
- Silicone kidney & potter's ruler
- potter's needle
- sponge and water
Of these four methods, throwing plates on the potter's wheel requires the greatest skill. Learning pottery on the wheel is the classic way if you want to delve into the pinnacle of ceramics. If you truly want to master this technique, our Pottery plate course Our pottery course "Plates Zürich" is just the thing for you.
Step-by-step instructions:
- Center plate clay: Center the lump of clay on the disc without piling it up too high.
- Press the clay flat outwards (using the palm of your hand or a rolling pin as an aid).
- Make sure the floor has a uniform thickness of approximately 5 mm if you don't want any grooves underfoot.
- Pull up the rim with the kidney and make sure the height is right so that your plates will fit easily into the dishwasher later.
- Very important: Compress the floor with the silicone sealant to avoid cracks.
Additional tips:
- Uniformity: Use a potter's ruler if you want to throw several plates of exactly the same size.
- Stability during firing: When turning foot grooves for your plates, there's an important rule of thumb for stoneware clay: For large plates with a diameter over 23 cm, I recommend turning not only an outer ring, but also a further, smaller ring (support ring) in the middle. This prevents the base from sagging in the heat during high-fire firing.
How much clay is needed for a plate?
| Plate size (end diameter) | Tone |
|---|---|
| Appetizer / Dessert plate (21–23 cm) | approx. 1,100 g |
| Standard plate (26–28 cm) | 1,200 – 1,400 g |
Important: Clay shrinks during firing – therefore, cast the plate slightly larger than you ultimately want it to be. The exact shrinkage depends on your type of clay, but is often between 10 and 15 mm.
Which method suits you best?
No matter which of the four methods you choose, pottery is a creative process that becomes more beautiful with each practice. From relaxed hand-building to the ultimate challenge on the potter's wheel: In our Pottery courses in Zurich You'll find the perfect entry point for every level. We look forward to making pottery plates with you. Clear your mind with dirty hands. 🧡
Here are all the courses mentioned in this blog post.