

Pottery plate making: 4 methods at a glance
You want to make your own pottery plate, but don't know where to start? In this


Helpful tips:
Difficulty level: Easy to medium
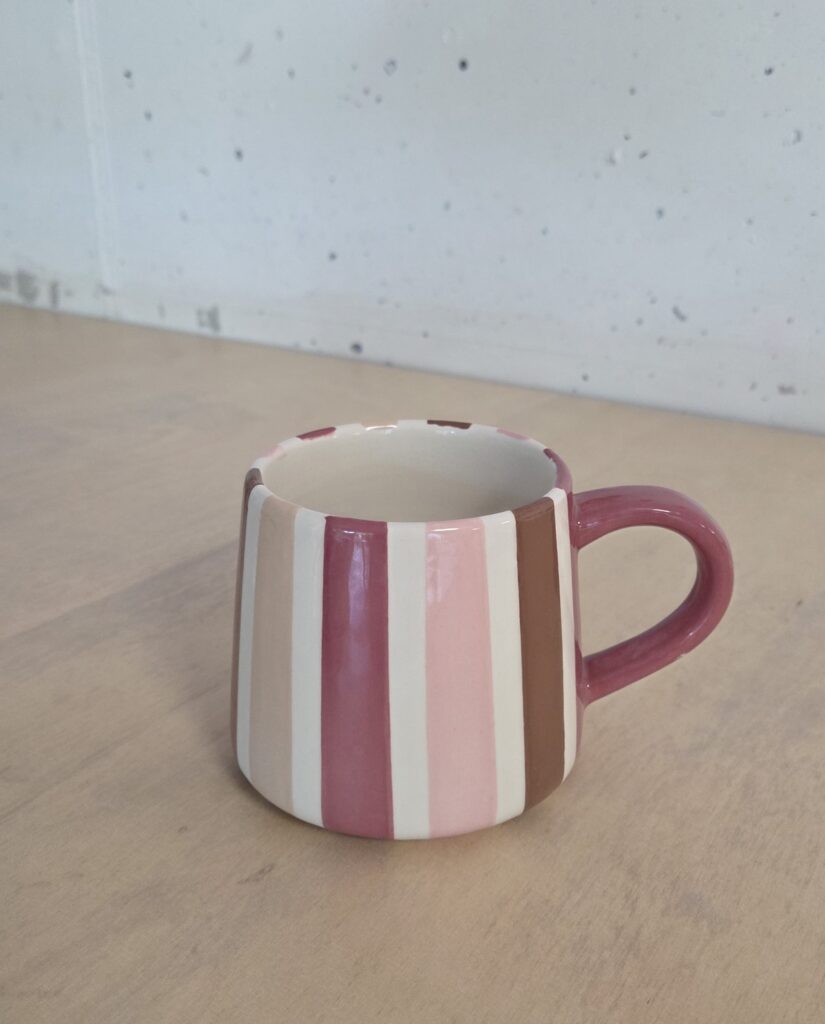
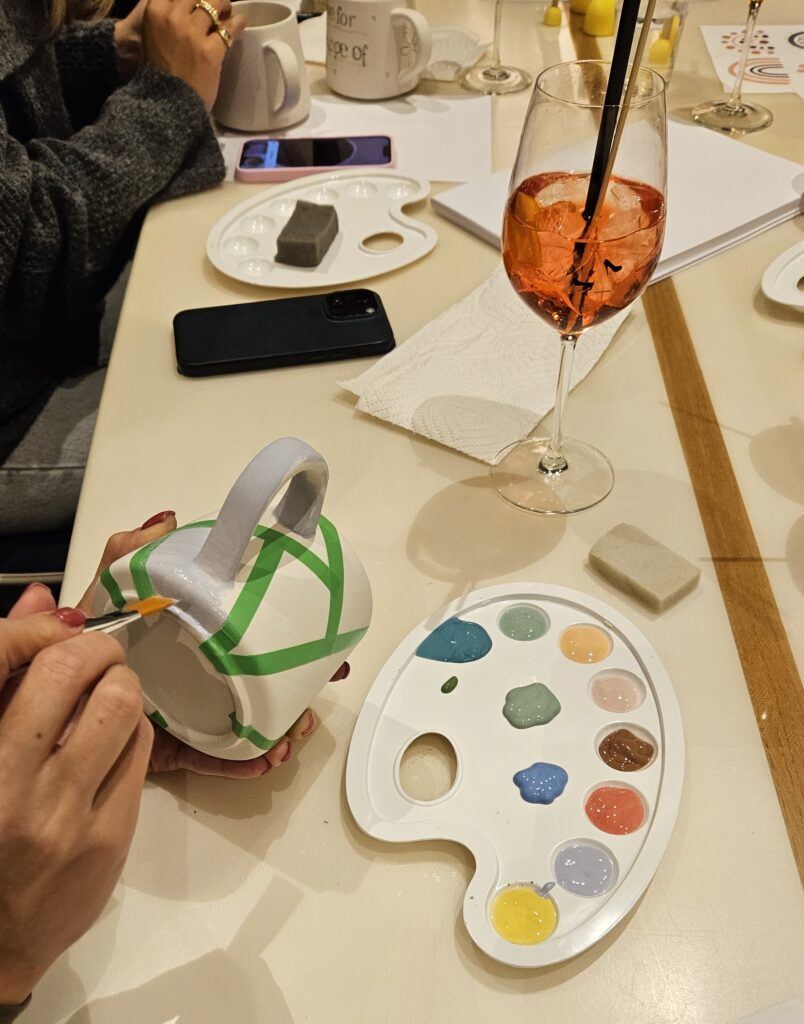
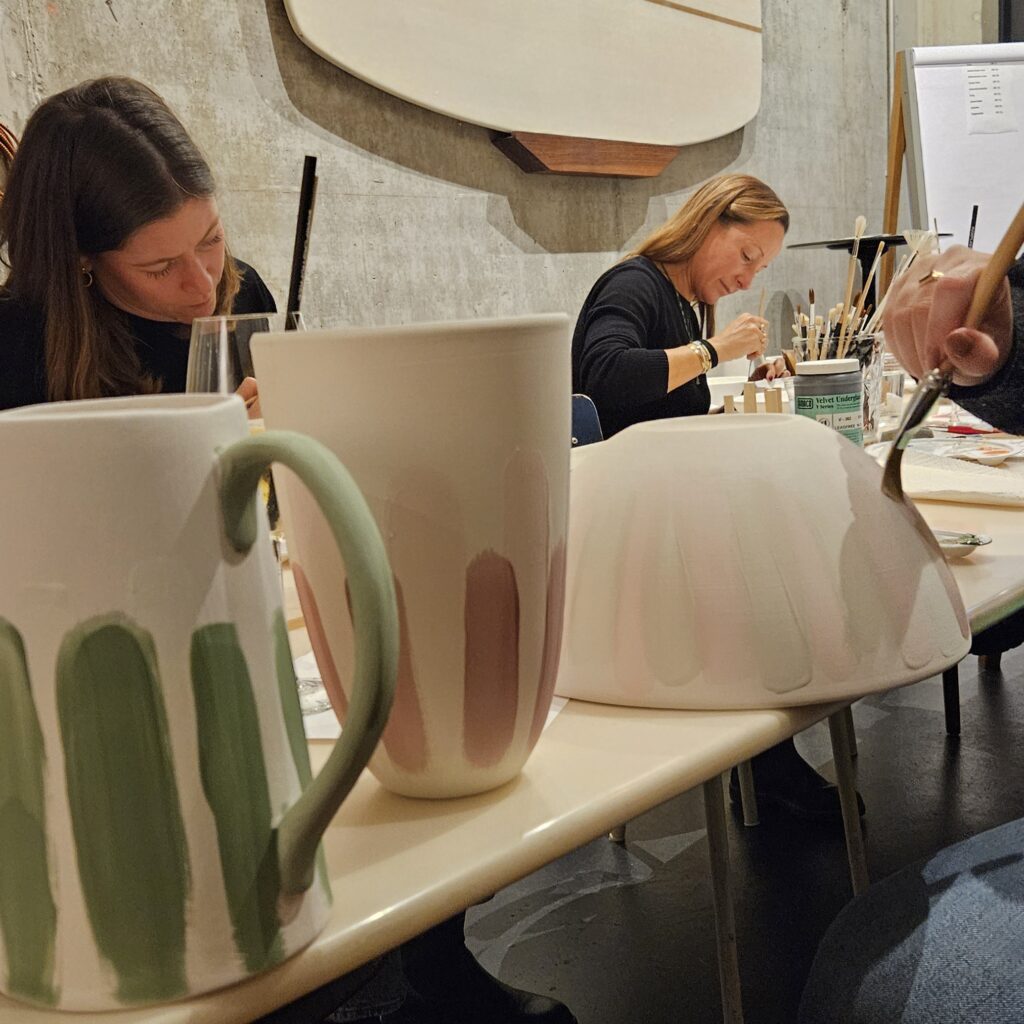
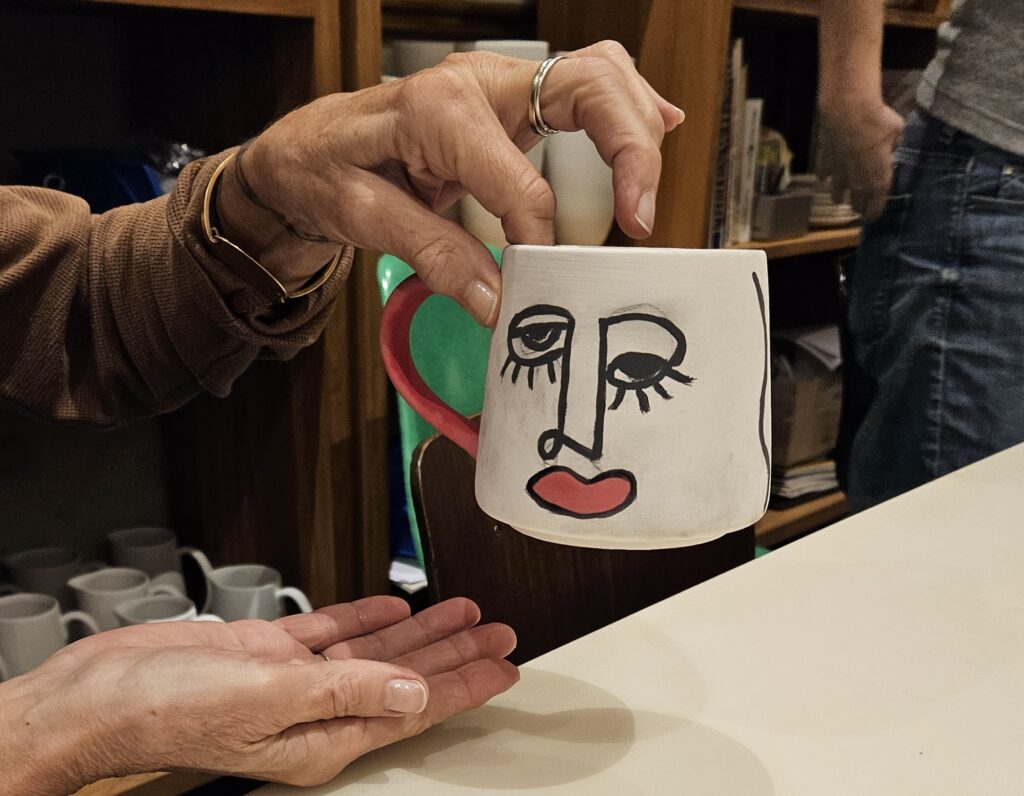
One of the most common mistakes beginners make when painting ceramics is trying to do too much at once. Beautiful designs don't have to be detailed or elaborate to appear deliberate and high-quality.
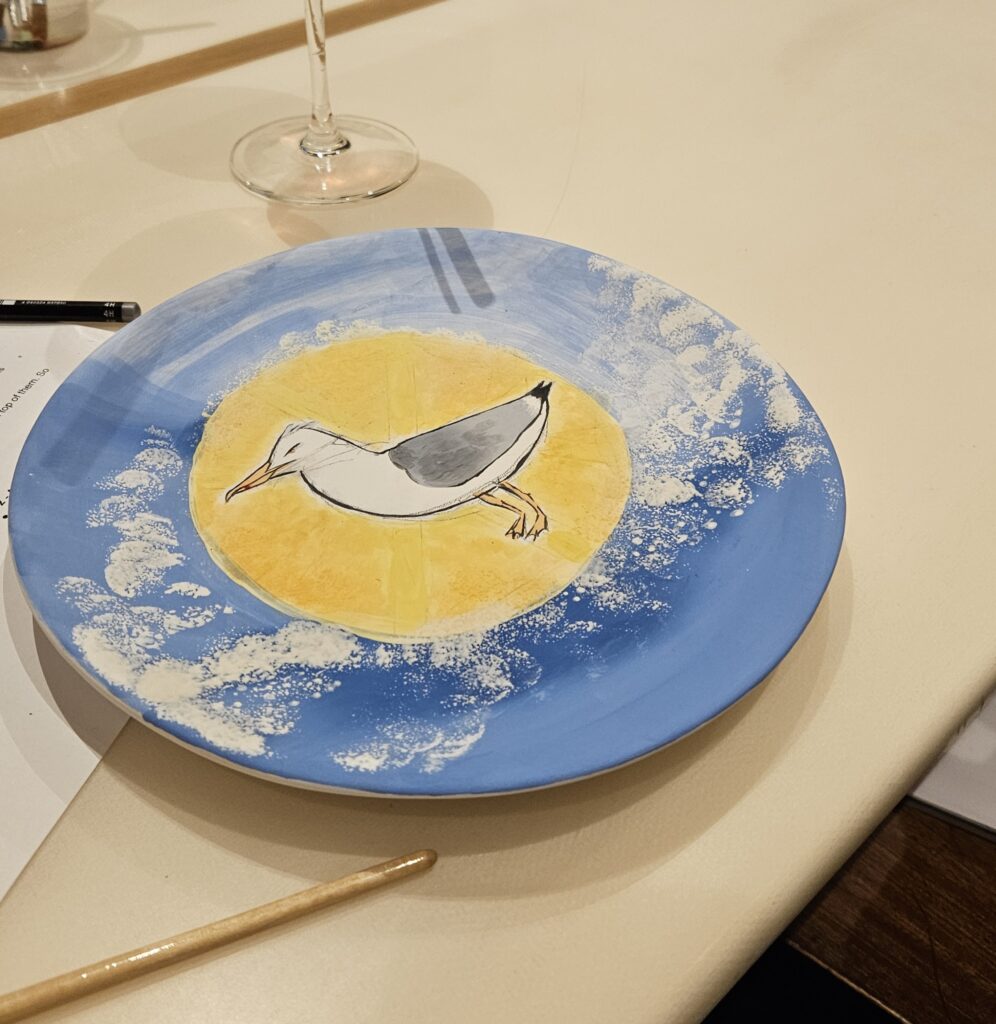
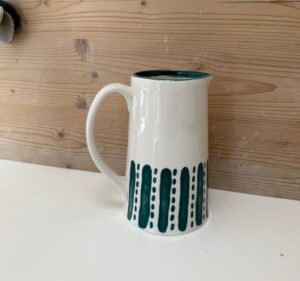
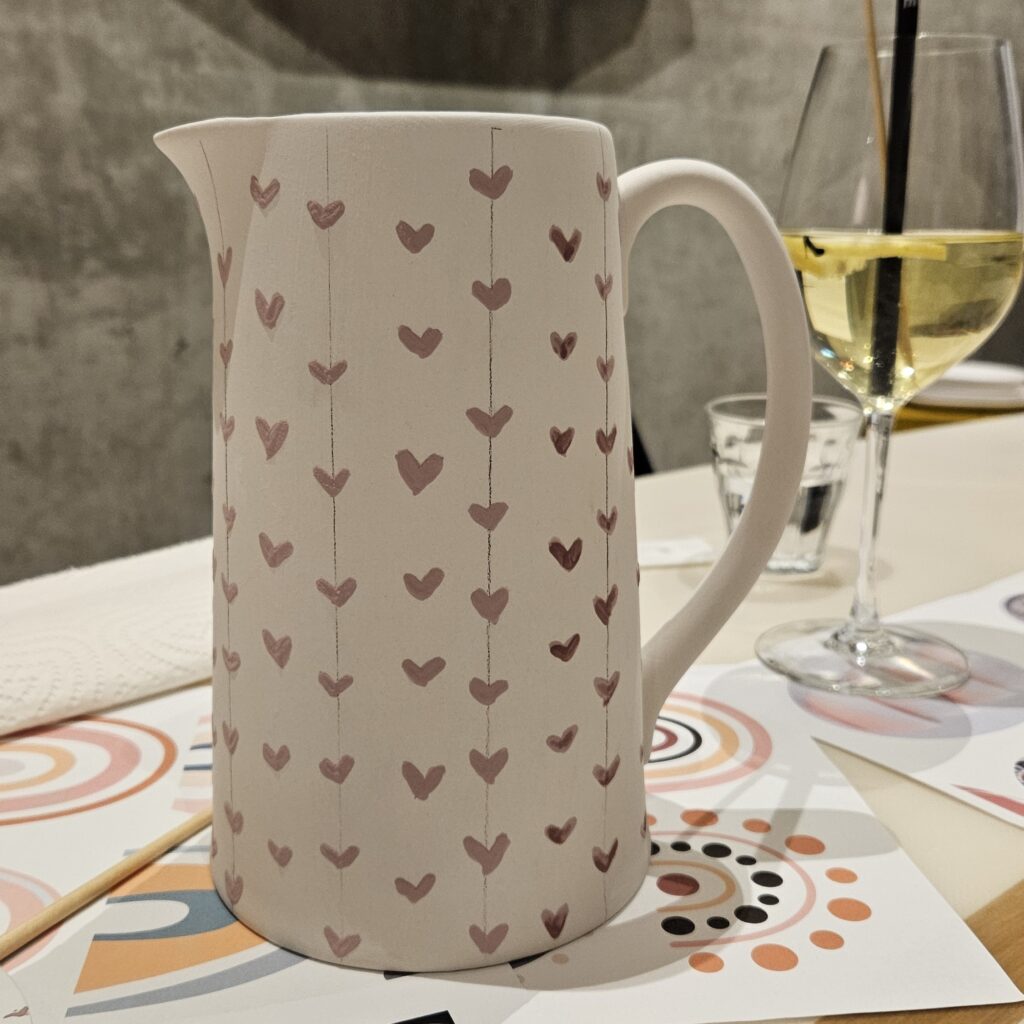
Therefore, we recommend large, simple organic patterns for beginners. Larger shapes are easier to control, easier to repeat, and more forgiving of minor brushstroke irregularities. Think, for example, of large dots, ovals, soft vertical or horizontal shapes, and other organic forms.
Here's how to proceed:


You want to make your own pottery plate, but don't know where to start? In this
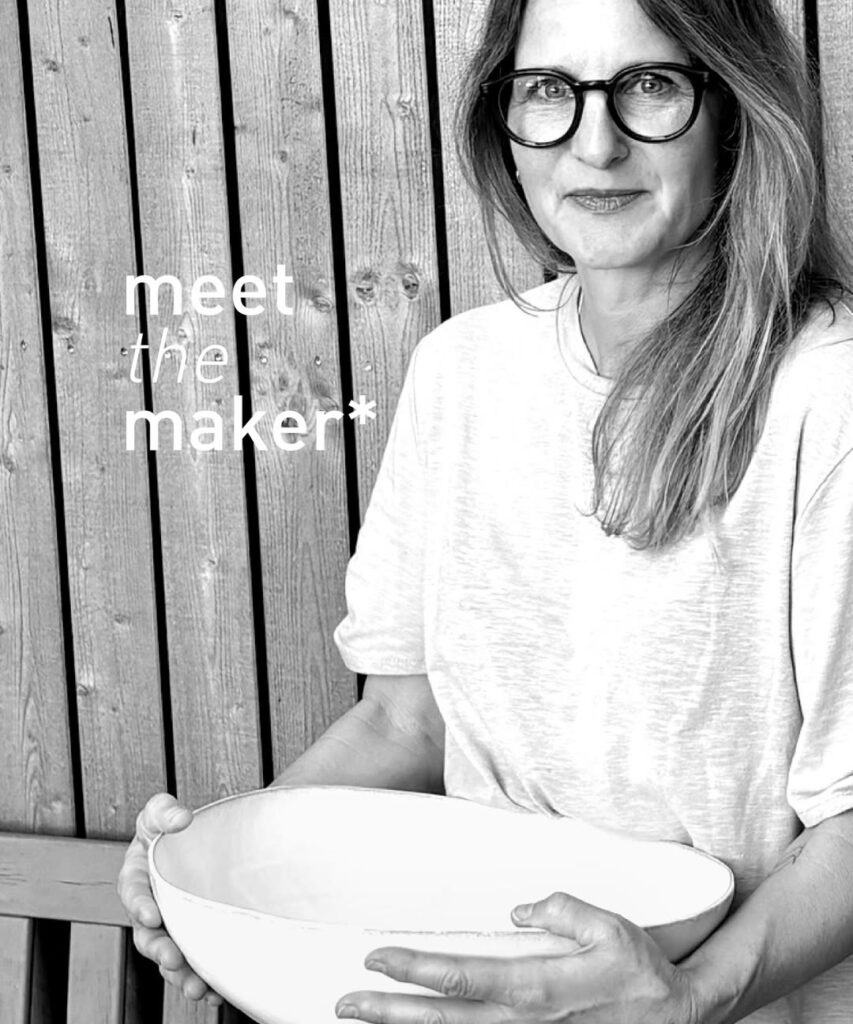
Meet the Maker*: Corinne Vontobel. This month's maker* has created a tableware collection centered around carved designs.
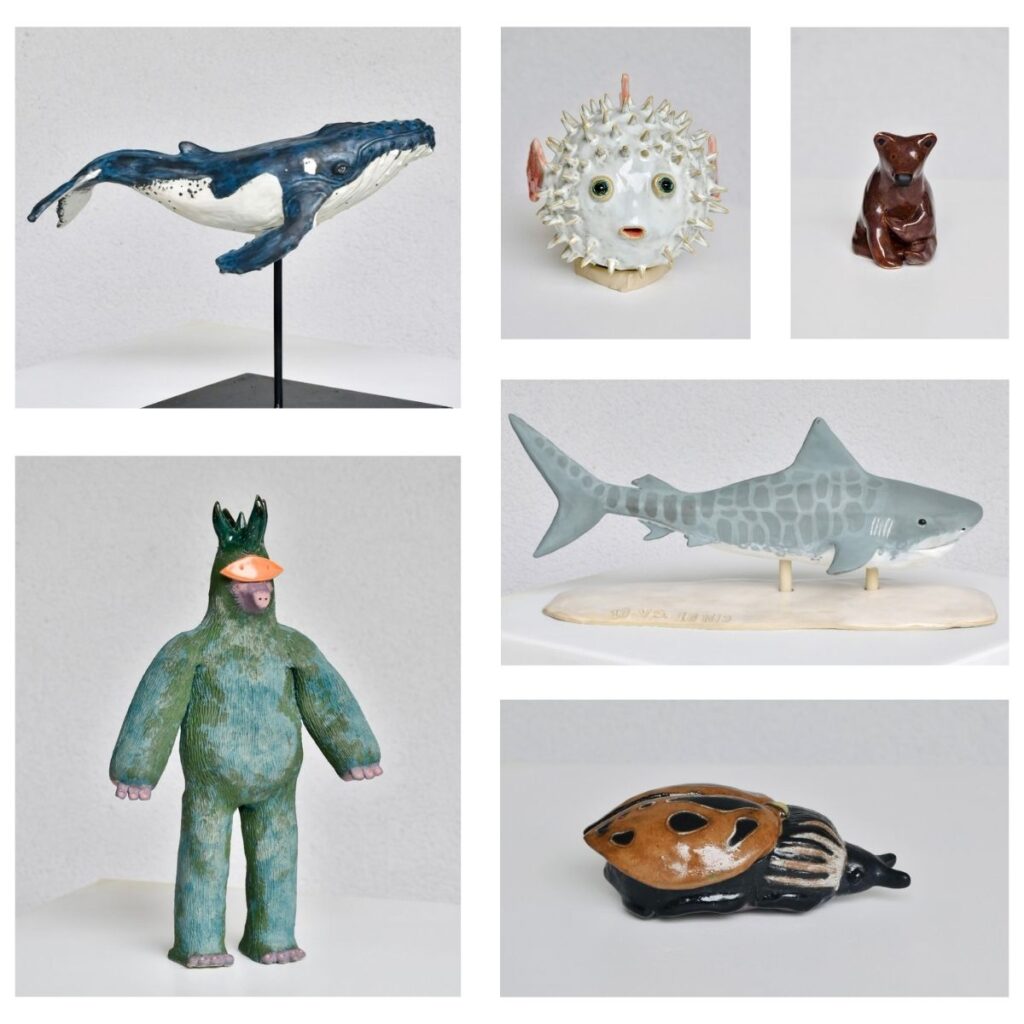
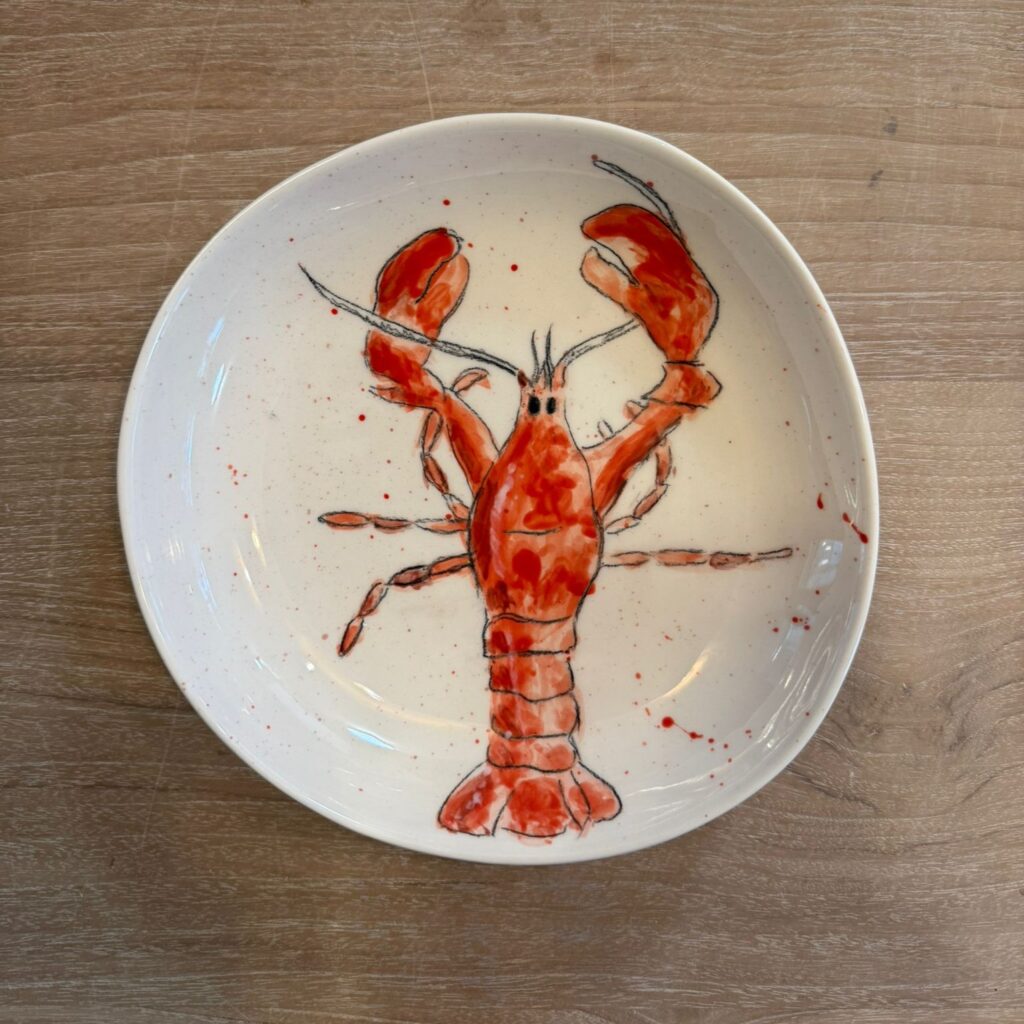
An animal kingdom at db pottery: In the animal kingdom, competition is omnipresent. "Survival of the fittest" is