


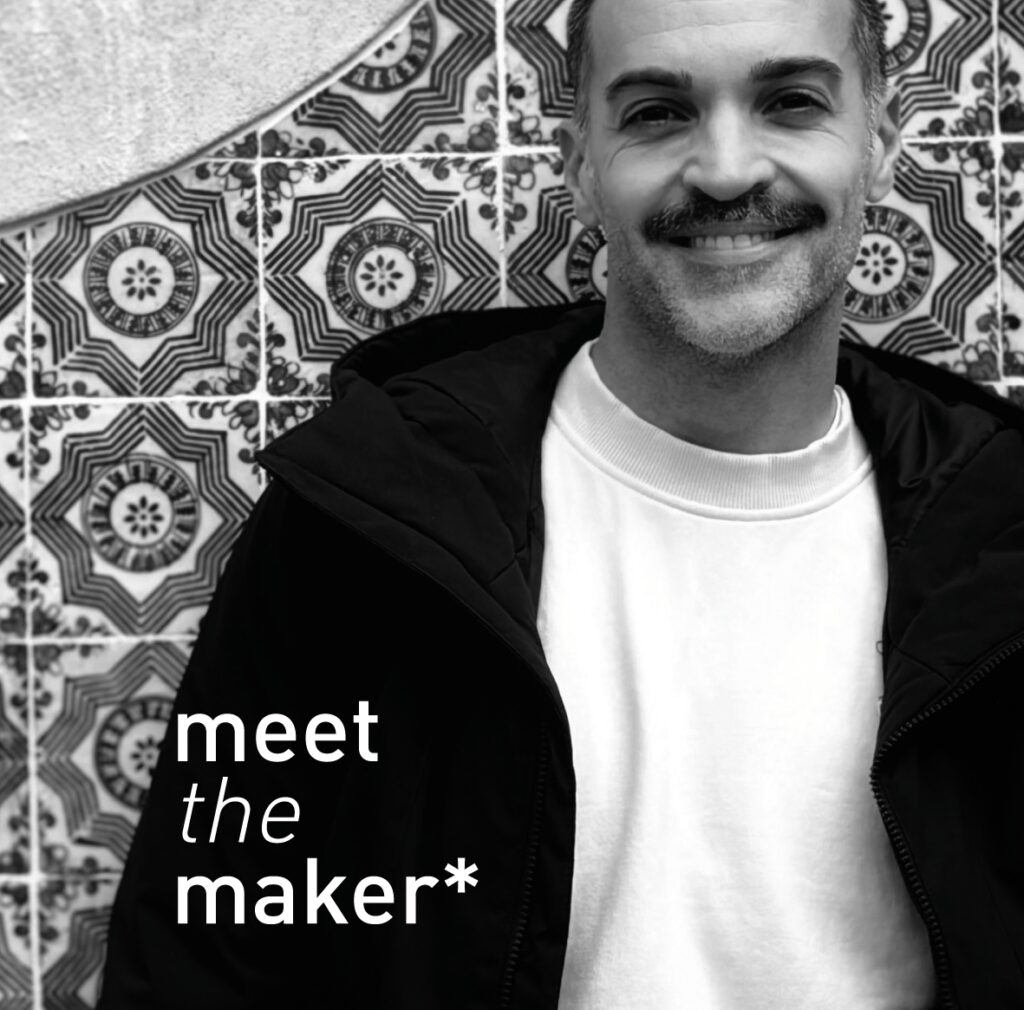
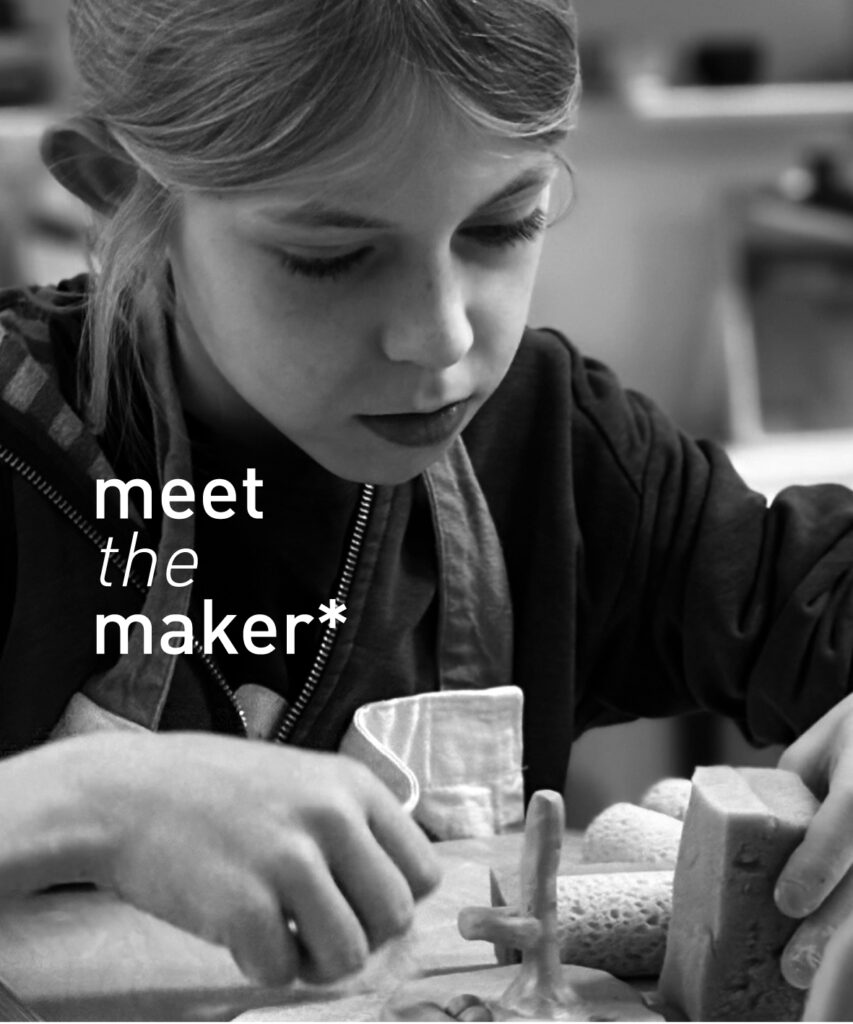
Meet the Maker*: Emanuel Espeso
Meet the Maker*: Emanuel Espeso Some paths to ceramics are straight. Others wind through years

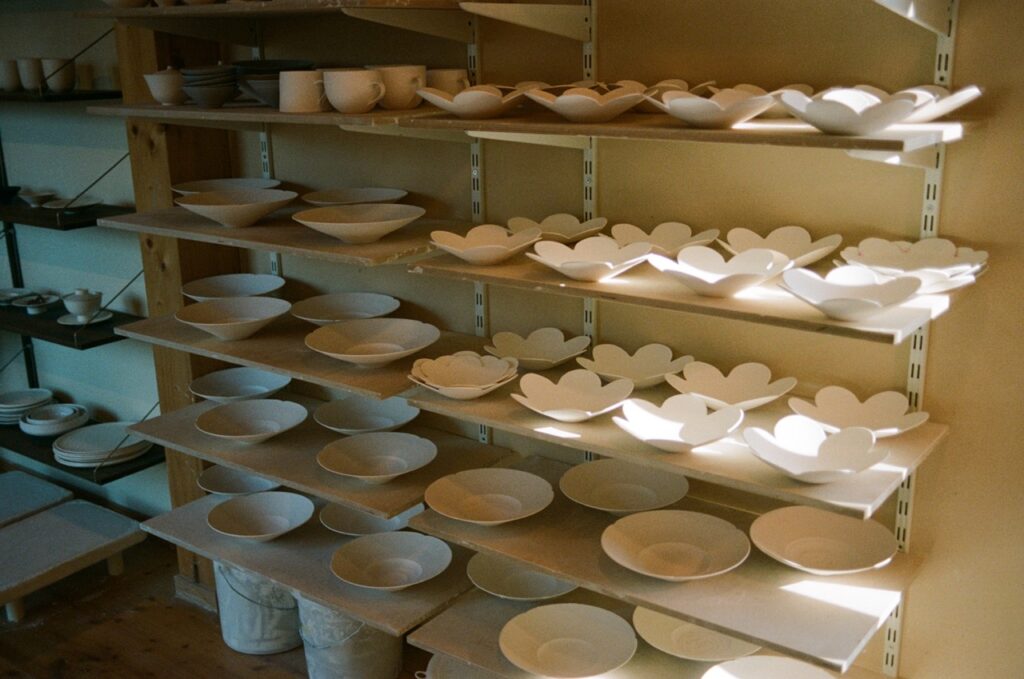
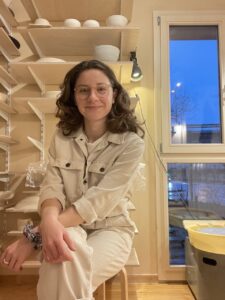
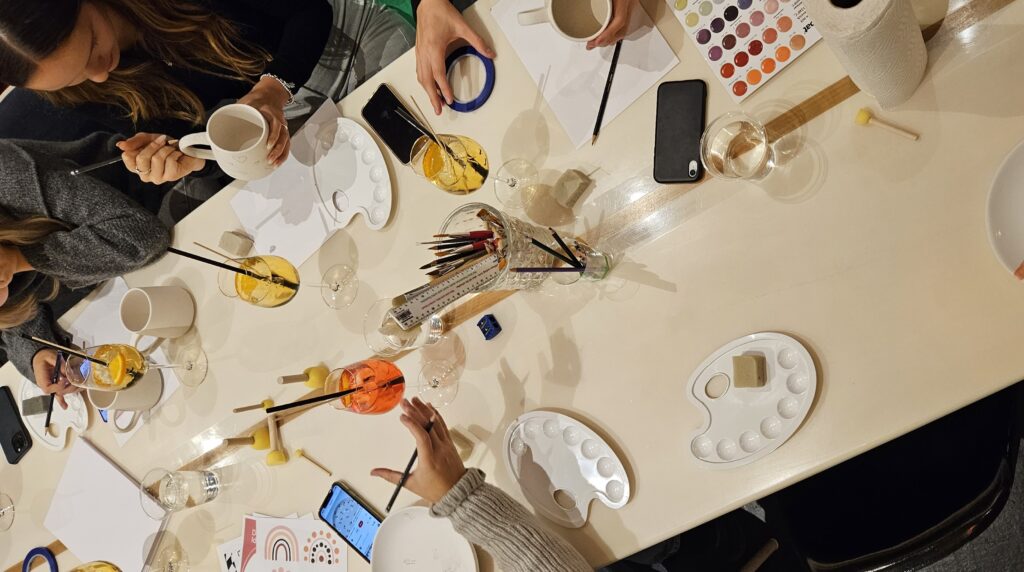
Recently, I had the chance to participate in an exclusive porcelain workshop led by the incredible Lilly Haas, a Zurich-based ceramic artist and founder of Studio Idakumori.
This hands-on workshop was part of db pottery’s member-exclusive offerings (just one of the perks of having a ceramic studio membership with db), although many of our courses are also open to the public. Whether you’re new to porcelain or already comfortable throwing with it, I wanted to share the top five key learnings from this experience with Lilly that I think every potter can learn from.

Trimming is one of the most important steps when working with porcelain. Lilly emphasized the need for precision and patience, especially when aiming for those ultra-clean lines porcelain is known for. Don’t rush this part; it's where the final shape and balance of your piece truly come to life.
Meet the Maker*: Emanuel Espeso Some paths to ceramics are straight. Others wind through years
10 einfache Designs & Techniken Kreativität ist wie ein Muskel. Sie möchte trainiert werden. Diese
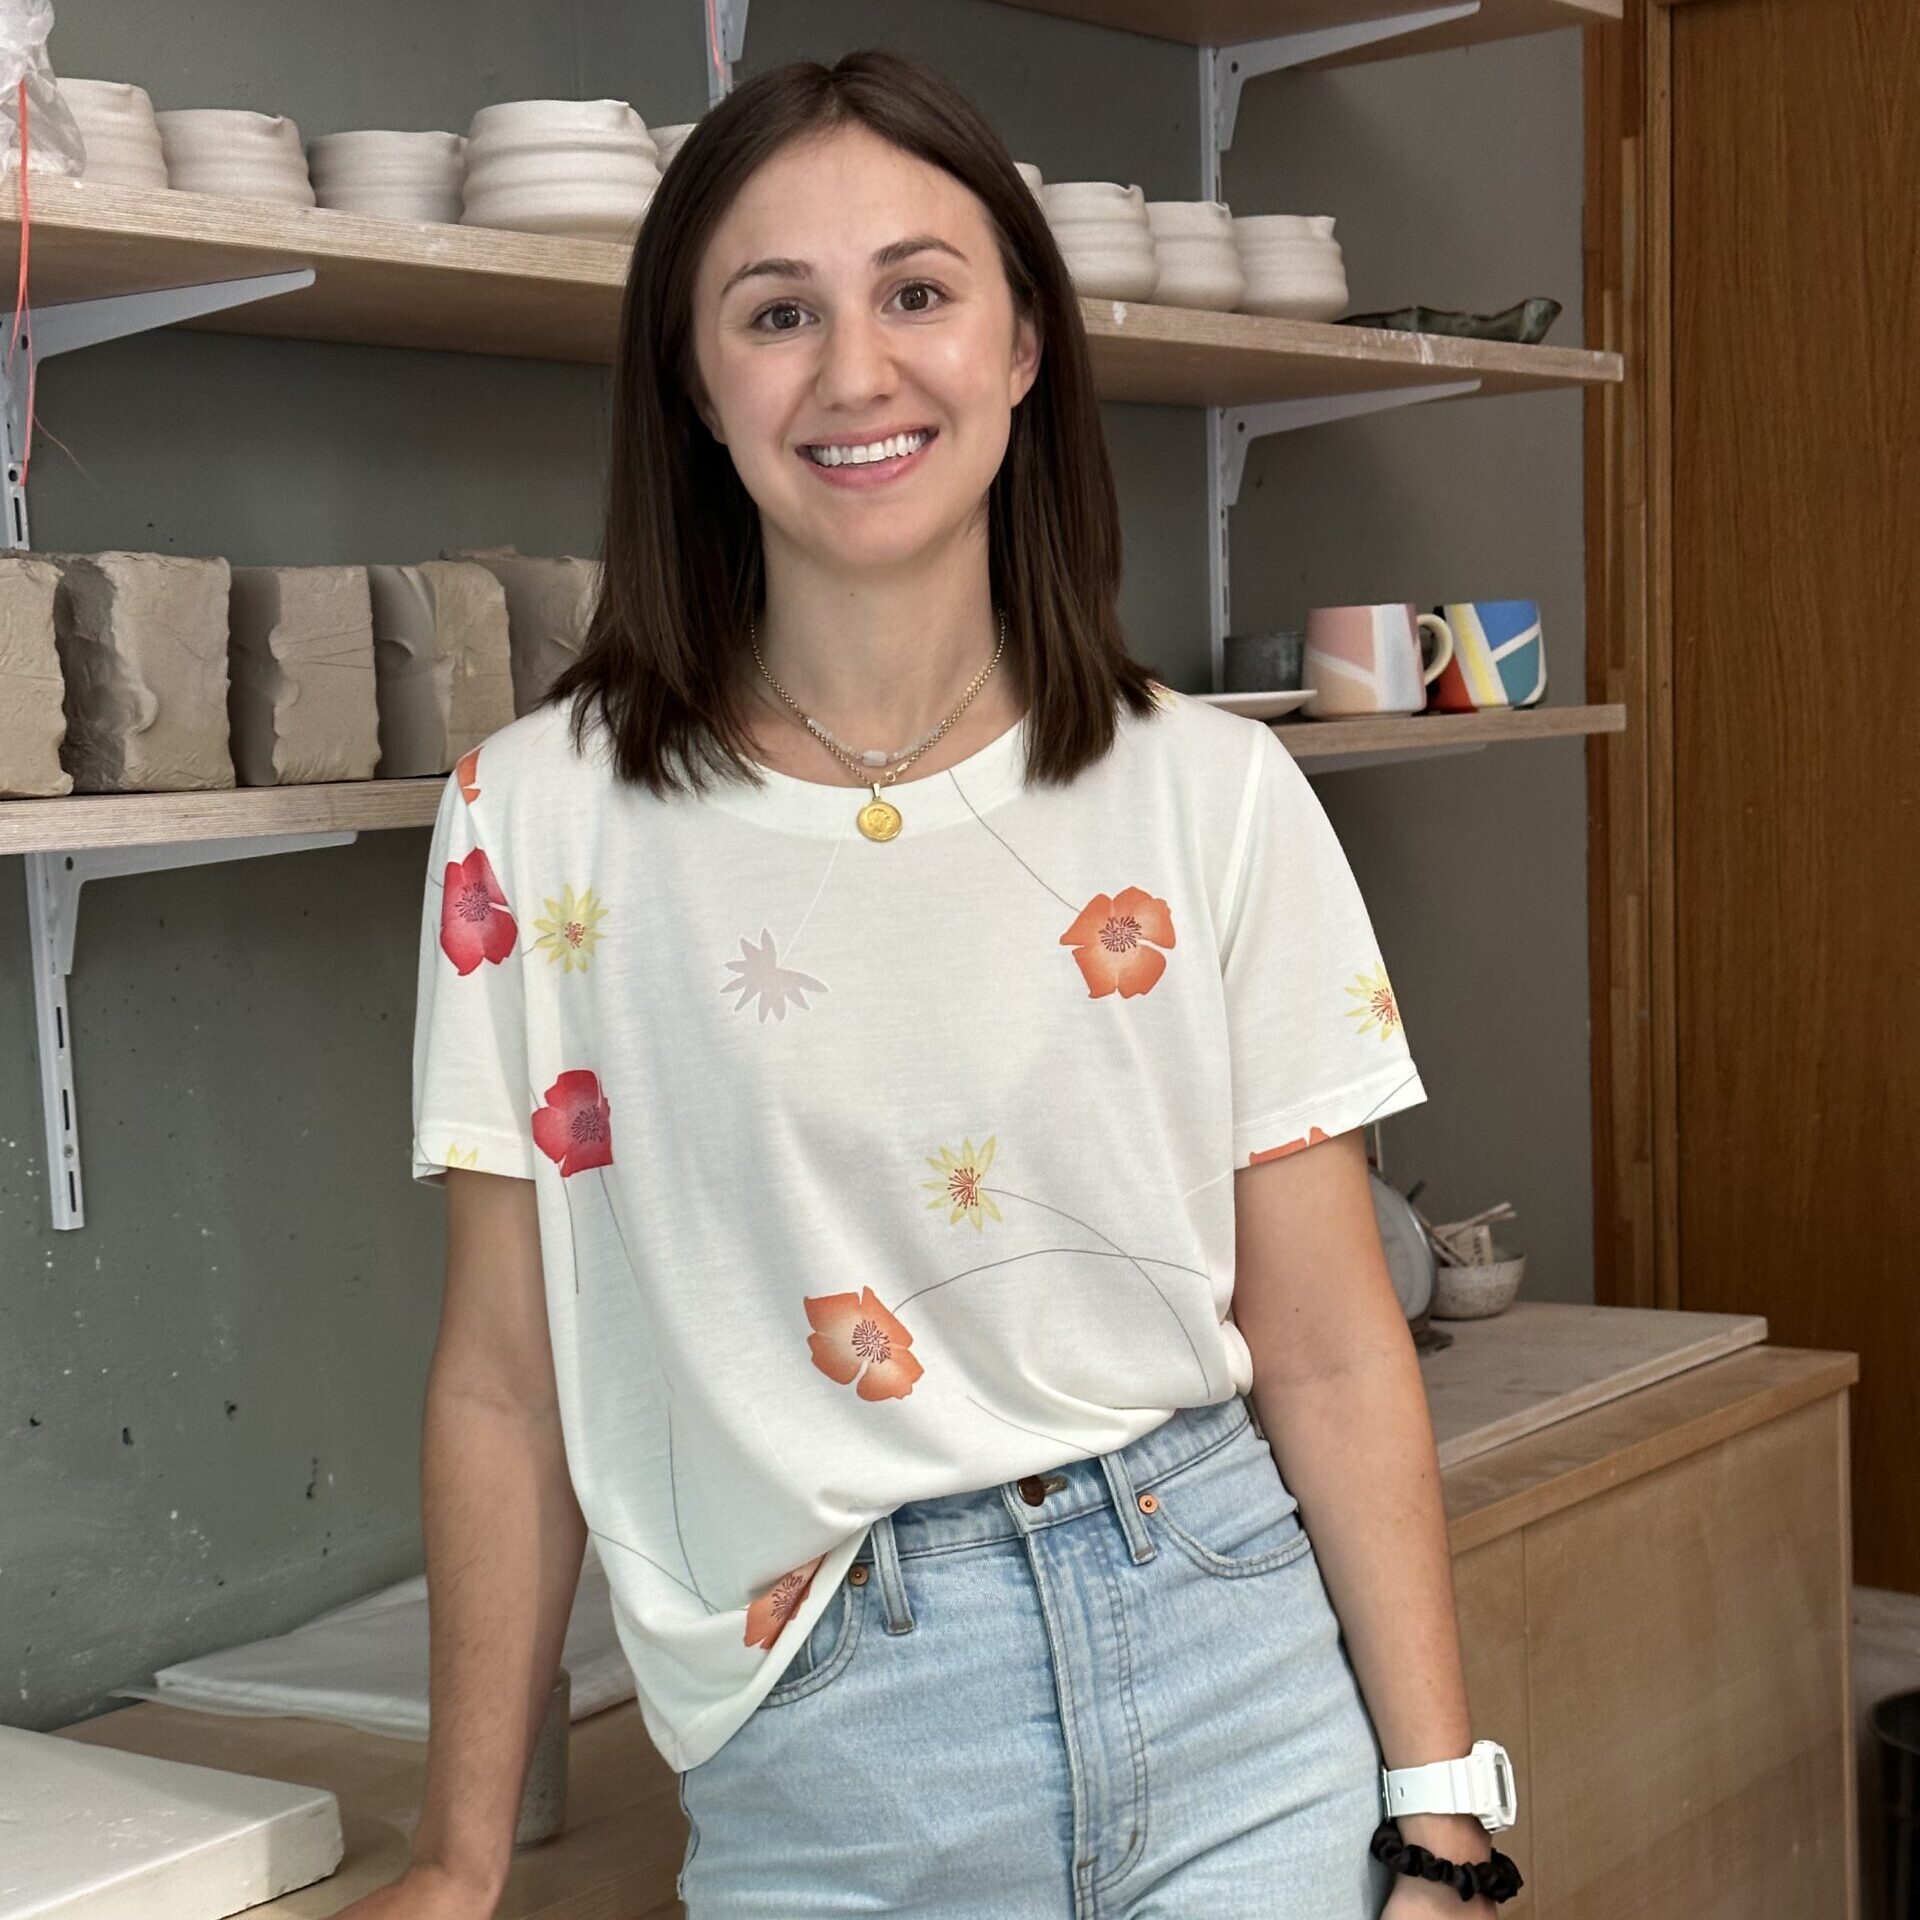
Meet the Maker*: Moritz Popp Just like the work they create, artists come in many